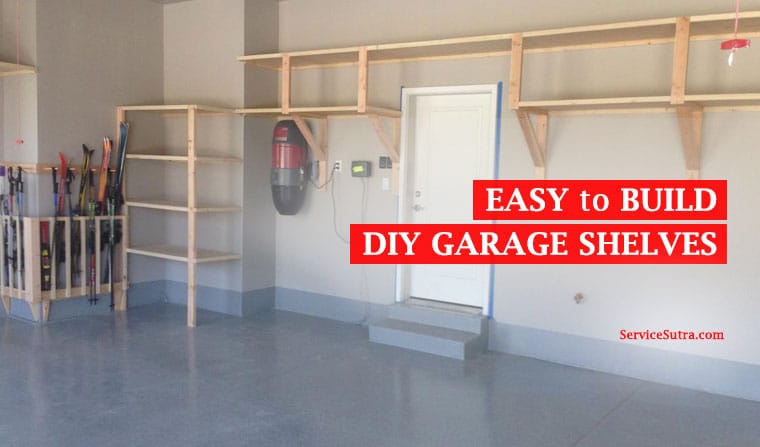
Our garages were once simply where our cars lived, but today, you’ll see very few garages used to house the family 4-wheel. Indeed, many garages have been transformed into extra bedrooms, hobby rooms, laundry rooms and, in some cases, entire apartments. If, however, your garage is a good old-fashioned working and storage area then you’re probably finding it all a little bit cluttered?

However, instead of admitting defeat and deciding to heave a fair chunk of your belongings up into at attic (where they might never see the light of day again), with just a little effort and very little outlay indeed, you could transform your garage with these easy-to-build shelves.
What you’ll need
For this job, you’ll need wall studs on which to mount the shelving, a spirit level, clamps, a good box of screws and a pair of calipers or a tape measure. Finally, remember to wear safety glasses and gloves at all times, as well as ear protection if you’re going to be using a table saw yourself.
Sizing
The next step is cutting your boards to size. Use the measuring tape and a pair of professional calipers from RS Components to make exact and reliable measurements. You can then either cut them yourself using a table saw or head to your local hardware store if you don’t have access to one. For a set of 4-foot long shelving, you’ll need around three strips of wooden board cut to around 48 inches long (or 4 foot) by 17 inches wide. For this build, you’ll also need four 60-inch legs, six 48 inch supports and nine 13 inch cross supports to build the framework for the shelving units themselves.
Building the back
Start by laying down two of your leg pieces in parallel and mark a line just down from the top of each shelf where you’ll want your garage shelves to sit. Position the first piece like the rung of a ladder beneath this line, checking that it sits flush with the legs. Next, fix screws into each corner, staggering their placement and marketing your progress as you go. Screw each ‘rung’ of your unit into place, making sure they are at least 16 inches apart and you’ll have your backing.
Finishing off
Attach your cross braces to the ends of each piece and add a centre support to the middle. Place the last 48-inch pieces on top of these supports and screw everything together. All that’s left to do now is attach the final two legs and slot the shelving sheets themselves in place, nailing them down to keep them sturdy. Now you should have your DIY garage shelving ready and rearing to go!
Over to you
Garage shelves can seriously help you get organized and declutter your garage. We have already shared some easy Do-It-Yourself garage shelves ideas for your garage.
Try some of these ideas and transform your garage now.
What else do you think one can do to transform a garage?
General FAQs
Garage shelves should be deep enough to allow you to store goods. The ideal depth for garage shelves is anywhere between 12 to 16 inches. Depending on how much space you have, you should decide the depth of the garage shelves.
Best woods for garage shelves are woods that are hard and last longer like oak or maple woods. But you can also mix and match like make frames with oak woods and then base with commercial plywood of 3/4th thickness or you can also use chip boards.
There are some items that should not be stored in your garage, including on garage shelves. List of items not recommended to be stored in garage includes Propane, garbage papers, clothing and bedding items and any other inflammable and temperature sensitive items.


